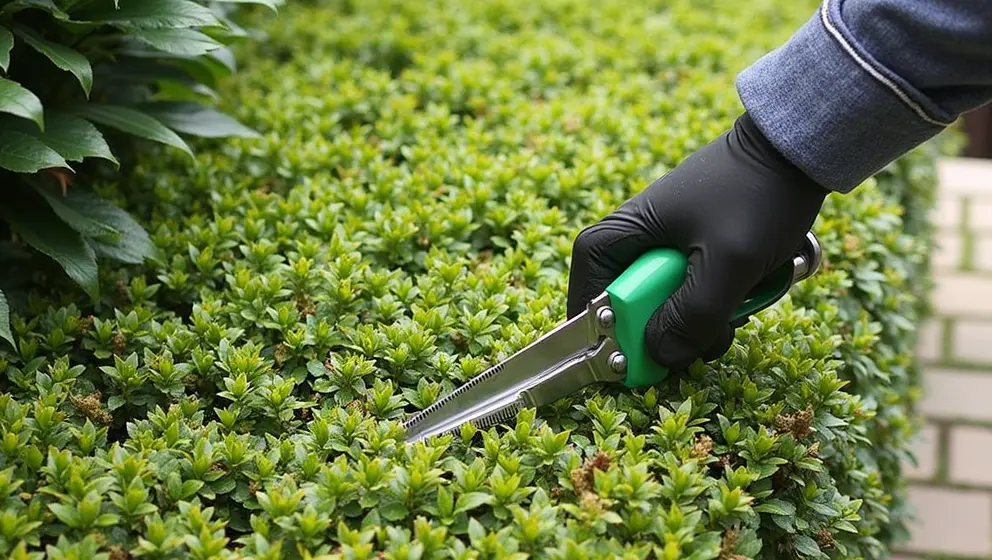
Master the Art of Trimming Overgrown Hedges
Master the Art of Trimming Overgrown Hedges
When was the last time you gazed at your garden and felt a wave of pride wash over you, rather than despair at the sight of overgrown hedges? If your answer is “too long ago,” you’re not alone. Many homeowners dream of a beautiful, well-maintained garden but find themselves overwhelmed by nature’s relentless growth. Today, we’ll embark on a journey to transform those unruly hedges into a picture-perfect landscape.
Understanding the Overgrowth
To effectively trim your hedges, it’s essential to understand why they become overgrown in the first place. Plants grow naturally, but when pruned incorrectly or not at all, they can quickly become an uncontrollable mass. Overgrown hedges can block sunlight from reaching other plants, attract pests, and detract from your home’s curb appeal. But fear not—trimming those hedges is not just a chore, it’s an art!
The Right Tools for the Job
Before we dive into the trimming techniques, let’s discuss the tools you’ll need:
- Pruning Shears: Ideal for small to medium branches.
- Loppers: Useful for thicker branches.
- Hedge Trimmer: Electric or manual options are available for larger jobs.
- Gloves and Safety Gear: Protect yourself from sharp branches and debris.
- Tarp: For easy cleanup of clippings.
When to Trim Your Hedges
Timing is crucial to successful hedge trimming. Most hedges benefit from trimming at least once a year, but the ideal time varies depending on the type of plant. For instance:
- Deciduous Hedges: Late winter or early spring is best before new growth begins.
- Evergreen Hedges: Trim in early spring or late fall.
Always research your specific hedge type for optimal results.
How to Trim Overgrown Hedges
Now that you’re equipped with the right tools and timing, let’s get into the step-by-step process of trimming your overgrown hedges:
Step 1: Assess and Plan
Stand back and examine your hedges. Determine how much you need to cut back and where to shape them. This is key to creating a balanced look.
Step 2: Start with the Middle
Begin trimming from the inside of the hedge and work your way out. This technique encourages new growth and helps to maintain thickness.
Step 3: Shape Your Hedges
Use straight cuts to achieve a neat appearance. Aim for a tapered shape—slightly wider at the bottom and narrower at the top, which allows sunlight to reach the lower leaves.
Step 4: Clean Up
Once your hedges are trimmed, gather the clippings into your tarp for easy disposal. This not only cleans up your work area but also keeps your garden neat.
Post-Trimming Care
After trimming, it’s vital to care for your hedges. Water them adequately and consider applying fertilizer to encourage healthy regrowth. Mulching around the base can also help retain moisture.
Common Mistakes to Avoid
Even the most experienced gardeners can make mistakes. Here are a few common pitfalls to dodge:
- Pruning Too Much: Avoid cutting more than one-third of the plant at once.
- Ignoring the Hedge Type: Each hedge species has specific needs—know yours!
- Lack of Regular Maintenance: Regular trimming prevents overgrowth. Don’t wait until it’s a chore!
FAQs About Trimming Overgrown Hedges
1. How often should I trim my hedges?
Trimming once a year is generally sufficient, but some varieties may require more frequent maintenance.
2. Can I trim hedges in the fall?
Yes, but it’s not ideal for all species. Always check the specific requirements for your hedge type.
3. What if I accidentally cut too much?
Don’t panic! Most hedges can recover. Ensure you care for the remaining plant and monitor its health.
4. How can I promote healthy growth after trimming?
Water your hedges regularly and apply fertilizer to provide essential nutrients for regrowth.
5. Is it better to cut hedges dry or wet?
It’s best to trim hedges when they are dry. Wet conditions can make the task slippery and cumbersome.
With these tips and techniques in hand, you are now ready to take on the challenge of trimming overgrown hedges. Remember, gardening is a journey, and each cut gets you closer to your lush, beautiful garden dreams!
“


